Shooting light trails is a popular photography technique that can create stunning and unique images. It involves capturing the movement of light sources, such as car headlights or city lights, over a longer exposure time. If you’re interested in trying this technique, here are some tips to help you get started.
- Choose the Right Location
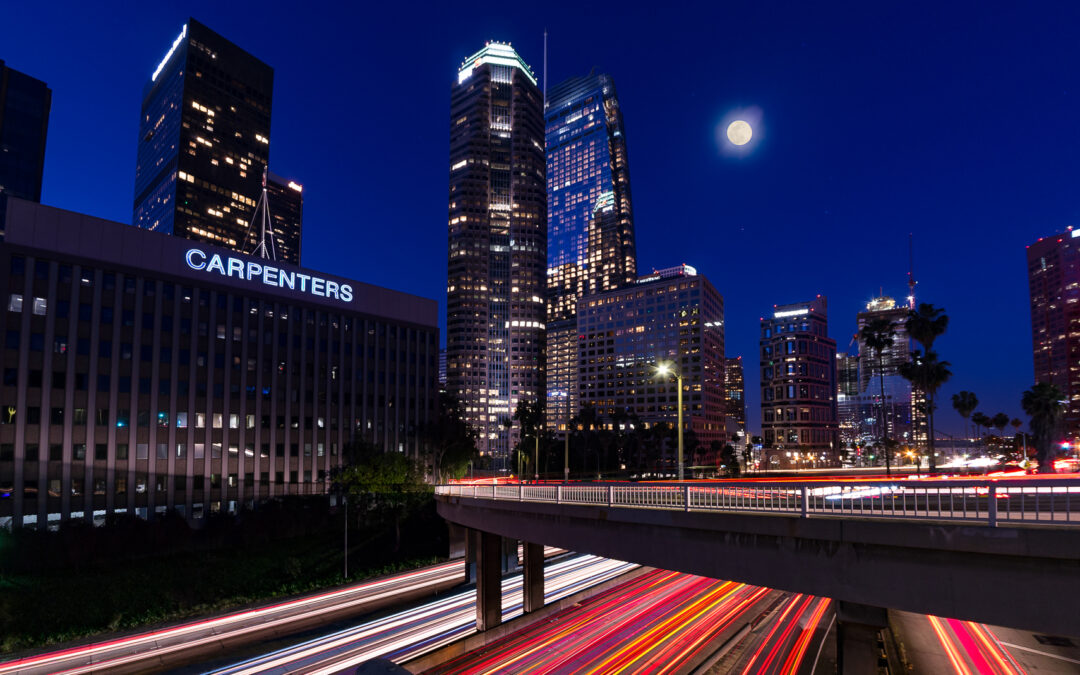
The first step in shooting light trails is to choose the right location. Look for a spot with lots of light sources, such as a busy street or intersection, to ensure that you have plenty of opportunities to capture light trails. You’ll also need a tripod to keep your camera steady for the long exposure times needed to capture light trails. We like Downtown LA for its architecture and never-ending traffic, which makes for good light trails.
- Set up Your Camera
Once you’ve found a good location, set up your camera on the tripod. Set your camera to manual mode and select a low ISO (100-200) and a narrow aperture (f/8 or smaller) to help create a longer exposure time. This will allow you to capture the light trails as they move through the frame.
- Choose Your Shutter Speed
The shutter speed you choose will determine how long the exposure will be. For light trails, you’ll need to set a long exposure time, typically between 10-30 seconds. This will allow you to capture the light trails as they move through the frame. Experiment with different shutter speeds to find the right balance between capturing enough light trails and avoiding overexposure.
- Use a Remote or Self-Timer
To prevent camera shake, use a remote or the self-timer feature on your camera to trigger the shutter. This will ensure that your camera stays perfectly still throughout the exposure. If you don’t have a remote, you can use the self-timer feature on your camera to delay the shutter release for a few seconds after you press the button.
- Experiment with Different Settings
Once you have the basics down, it’s time to experiment with different settings to create different effects. Try adjusting your shutter speed, aperture, and ISO to get different results. You can also use different light sources or move your camera during the exposure to create more abstract images. Don’t be afraid to get creative and have fun with it!
In conclusion, shooting light trails is a fun and creative way to capture the beauty of light in motion. With these tips, you’ll be able to capture stunning light trail images in no time. Remember to experiment with different settings, be patient, and have fun! Be adventurous and go out on your own or join us on one our local photowalks! Our instructors will show you step-by-step how to get a beautiful iconic DTLA light trail image and you’ll feel confident traveling in a group!